
The Ultimate Guide to Staining Pressure-Treated Wood Decks and Fences
If you have recently invested in a new outdoor space, you already know the immense value it adds to your home. Whether it is a spacious backyard deck for summer entertaining or a sturdy privacy fence securing your property line, pressure-treated wood is an incredibly popular and practical choice for residential construction. However, our distinct Chicagoland weather—which swings from intense, humid summer sun to brutal, freezing winters—can quickly take a toll on unprotected lumber.
As a reliable general contractor specializing in high-quality exterior finishes, we often hear homeowners asking how to properly protect their new wooden structures from the elements. Leaving wood exposed to harsh seasonal changes can lead to premature warping, cracking, and a dull gray appearance. In this comprehensive guide, we will walk you through the essential steps of staining pressure-treated wood to ensure your investment remains beautiful and structurally sound for years to come.

Patience Pays Off: When is the Right Time to Stain?
One of the most common questions we receive is whether you can stain green pressure treated wood immediately after it is installed. The short and definitive answer is no. Pressure-treated lumber is heavily infused with liquid chemical preservatives designed to protect the wood from rot, fungal decay, and insect damage. When you purchase this lumber from a supplier, it is often still saturated with moisture from the treatment process—hence the industry term 'green' wood.
If you attempt to apply a finish to wet wood, the trapped moisture will act as a barrier, preventing the stain from penetrating the wood fibers properly. This inevitably leads to a blotchy appearance, surface peeling, flaking, and a finish that might not even survive a single winter season. So, exactly how long to wait before staining pressure treated wood? While the traditional rule of thumb suggests waiting anywhere from a few weeks to several months, the actual timeline depends heavily on local weather conditions, daily sun exposure, and airflow.
Instead of relying on guesswork, we highly recommend testing moisture level in pressure treated deck before staining. There are two reliable methods to determine if your wood is ready. The first is the simple water drop test: sprinkle a few drops of water onto the surface of the wood. If the water beads up on the surface, the wood is still too wet. If it absorbs into the wood within a few minutes, the pores are open and ready to accept stain. The second, more professional method involves using a digital wood moisture meter. For a successful and long-lasting application, the wood's internal moisture content should ideally drop below 15 percent.
Selecting the Best Materials for Your Project
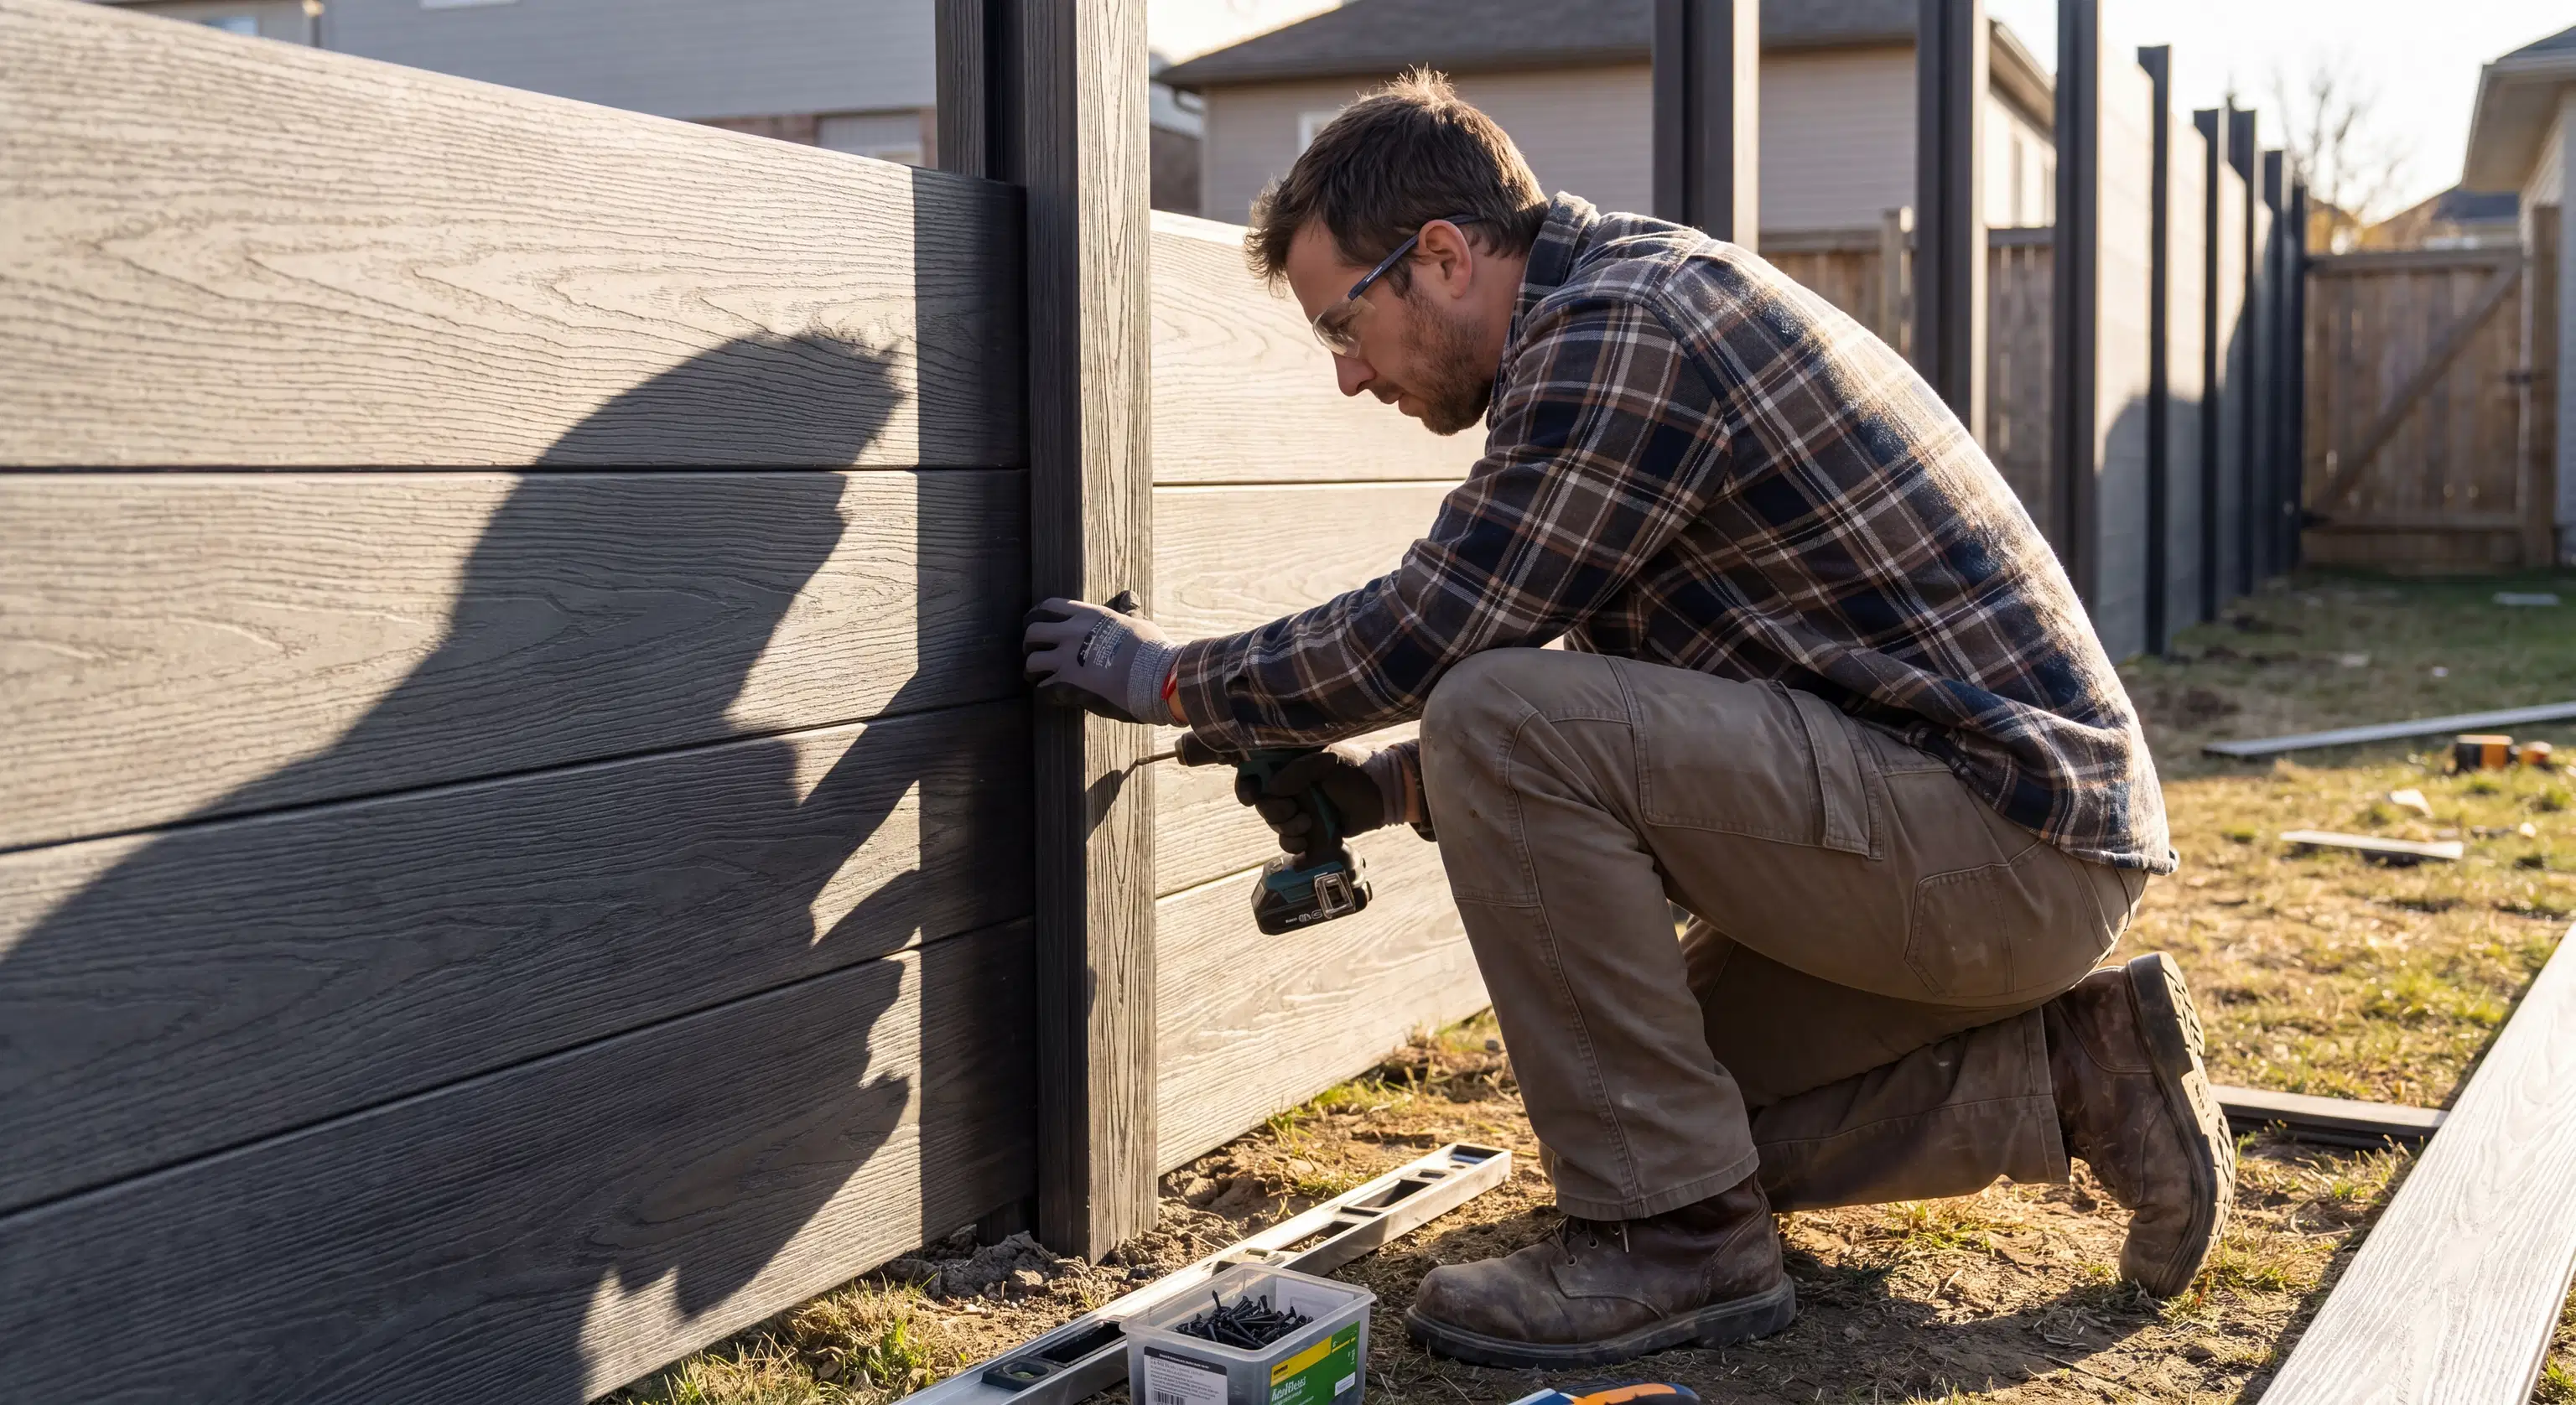
Once your wood has adequately dried out, the next critical step is selecting the right protective product. Finding the best stain for brand new pressure treated fence or deck materials can feel overwhelming given the sheer volume of options, opacities, and bases on the market.
For newly installed, high-quality pressure-treated wood, a semi-transparent penetrating stain is almost always the most highly recommended option. Unlike solid stains or traditional exterior paints that form a film on the surface, penetrating stains dive deep into the wood fibers. This formulation enhances the natural grain and texture of the wood while providing excellent protection against harmful UV rays and water intrusion, all without the risk of heavy peeling as the wood naturally expands and contracts.
When planning your fence painting and staining project, it is also important to consider the architectural layout of your property. If your new fence runs closely along a narrow gangway between houses, you might want to choose a lighter, warmer tint to keep the constrained space feeling open and bright. Conversely, if you are updating a multi-level deck on the back of a classic two-flat, a richer, darker tone might complement the historic brickwork perfectly and provide a striking aesthetic contrast.
The Importance of Proper Preparation and Application
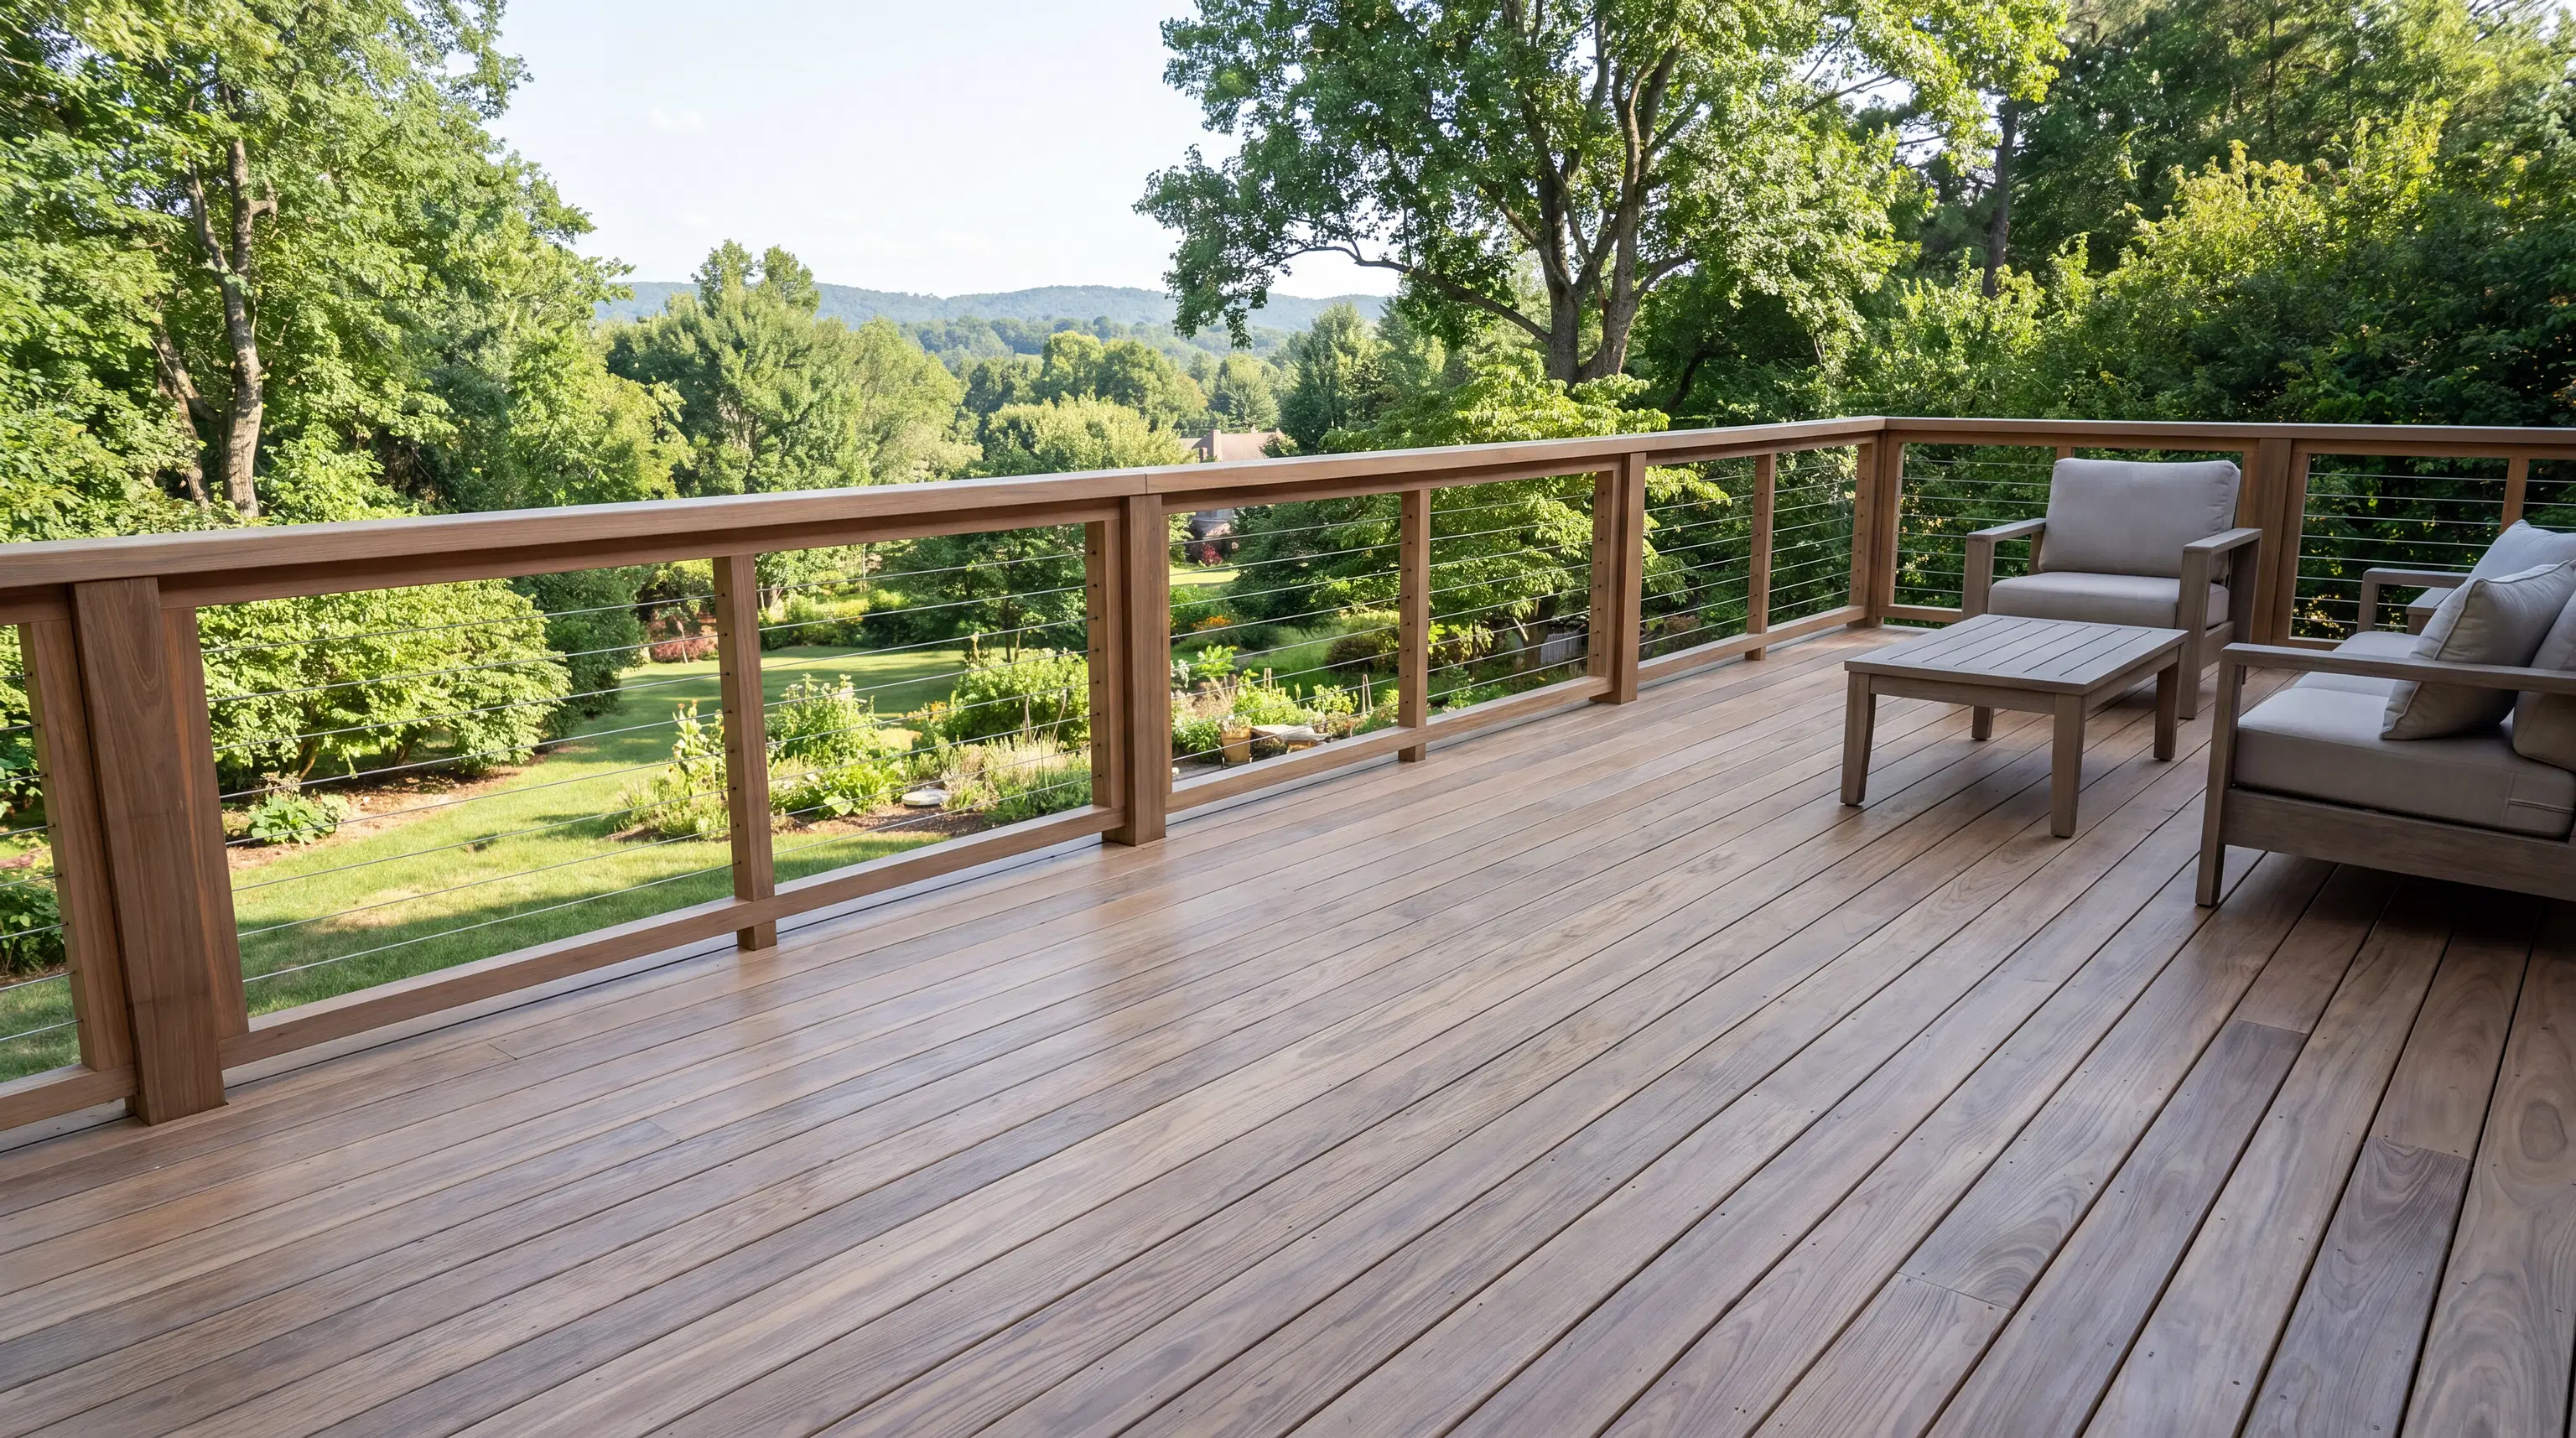
Even the most expensive, premium-quality stain will fail prematurely if the wood surface is not prepared correctly. Professional preparation is a non-negotiable cornerstone of our workflow. Before any stain touches the wood, the entire surface must be meticulously cleaned to remove mill glaze—a shiny, slick residue left over from the lumber milling process—as well as everyday dirt, pollen, and early mildew spores.
Typically, this preparation involves applying a specialized wood cleaner and brightener, followed by a gentle, controlled wash. It is absolutely critical to use the correct water pressure; using too much force can easily splinter, fur, and permanently gouge soft pressure-treated pine. After this cleaning process, the wood must be given adequate time to dry completely once again before staining begins.
When it comes to the actual application of your deck painting and staining, consistency is everything. Working carefully in small, manageable sections and maintaining a wet edge ensures a smooth, even coat without unsightly lap marks. We always recommend brushing the stain into the wood. Even if the product is initially applied with a professional sprayer or a roller to save time, physically back-brushing works the liquid deeply into the wood's pores, maximizing the durability and longevity of the finish.
With the fluctuating and often high costs of raw building materials, protecting your outdoor structures should be viewed as a financial priority. Skipping corners on the preparation or application process frequently results in rapid finish failure and costly rework. A properly prepared and stained structure will not only look beautiful, but it will effectively resist the cracking, warping, and graying that inevitably destroys unprotected wood exposed to the elements.
Partner with a Trusted Local Professional
Properly staining a new deck or fence requires careful timing, an eye on the weather window, and a thorough understanding of how different wood species react to moisture and chemical treatments. Between balancing our unpredictable seasonal weather fluctuations and ensuring you select the correct commercial-grade materials for our climate, taking on this extensive project yourself can easily become a daunting and frustrating task.
If you want the peace of mind that comes with knowing your outdoor spaces are perfectly protected and beautifully finished, let the experts handle the heavy lifting. At E3 Painting, we bring years of dedicated experience serving the Chicago area. We pride ourselves on providing highly transparent estimates without hidden fees, clear daily communication, and uncompromising craftsmanship on every single job site.
Ready to secure your property's value before the harsh weather sets in? Explore our comprehensive exterior painting services and reach out to our team today to schedule your personalized consultation. Let's work together to make sure your outdoor living spaces are built, and protected, to last.